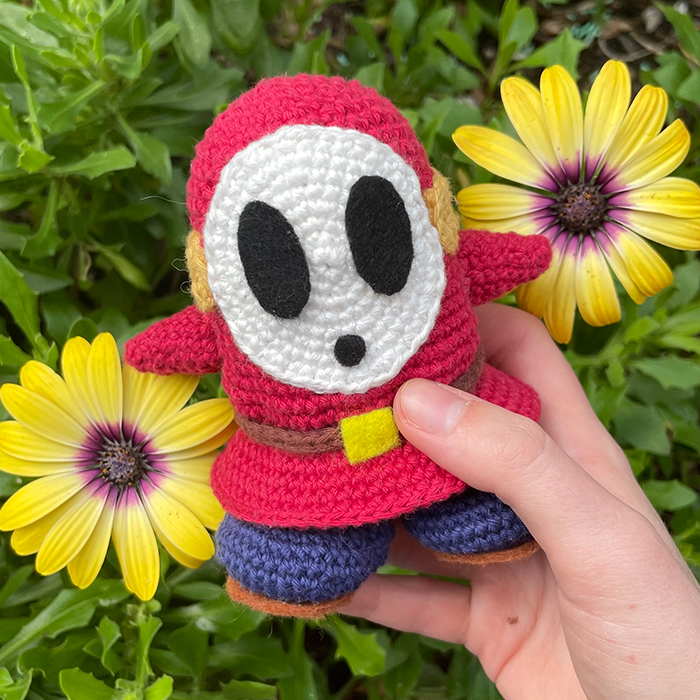
Shy Guy Pattern
11 April 2026
Materials & Tools
- Cotton yarn (I used 4 seasons' 'Flinders'):
- Red
- Blue
- Light brown
- Dark brown
- Black
- White
- Felt:
- Light brown
- Yellow
- Black
- Fibre fill or filling of your choice
- Craft glue
- 2.5mm crochet hook
- Yarn needle
- Stitch markers
- Scissors
- Pins
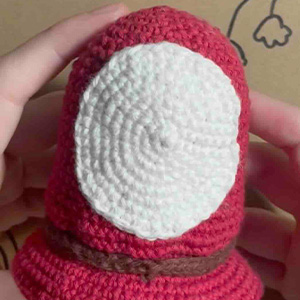
Base of Body
- Row 1: 6sc in Magic Ring
- Row 2: 6 inc
- Row 3: (sc, inc) x6
- Row 4: (2sc, inc) x6
- Row 5: (3sc, inc) x6
- Row 6: (4sc, inc) x6
- Row 7: (5sc, inc) x6
- Row 8: (6sc, inc) x6
- Row 9: (7sc, inc) x6
- Row 10: (8sc, inc) x6
- Row 11: (9sc, inc) x6
- Slst, and tie off
Body
- Row 1: 6sc in Magic Ring
- Row 2: 6 inc
- Row 3: (sc, inc) x6
- Row 4: (2sc, inc) x6
- Row 5: (3sc, inc) x6
- Row 6: (4sc, inc) x6
- Row 7: 36sc
- Row 8: (8sc, inc) x4
- Row 9: 40sc
- Row 10: (9sc, inc) x4
- Row 11-20: 44sc
- Row 21: (3sc, inc) x11
- Row 22: (2sc, inc, 2sc) x11
- Row 23: 66sc
- Row 24: 33dec
- Row 25: 33sc
- Row 26: 33inc
- Row 27-29: 66sc
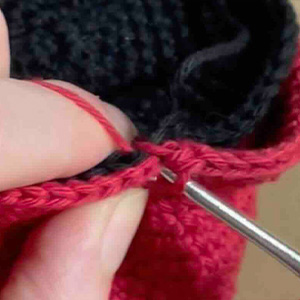
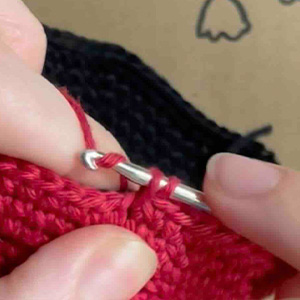
- Row 30: 66sc, connecting to base as you go [see below]
- With about 16 stitches left, fill up to the “waist” with stuffing
- Slst, tie off, and weave in ends.
Arms
Make 2
- Row 1: 5sc in Magic Ring
- Row 2: 5sc
- Row 3: 5inc
- Row 4-5: 10sc
- Row 6: (sc, inc) x5
- Row 7-9: 15sc
- Slst, tie off, and leave enough yarn to sew to the body.
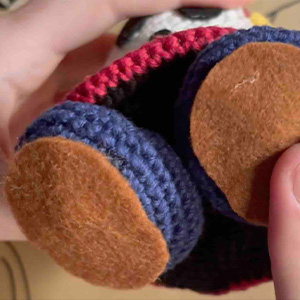
Shoes
Make 2
- Row 1: 6sc in Magic Ring
- Row 2: 6inc
- Row 3: (3inc, 3sc) x2
- Row 4: ((sc, inc) x3, 3sc) x2
- Row 5: 3sc, 3inc, 9sc, 3inc, 6sc
- Row 6: (4sc, inc) x6
- Row 7: (5sc, inc) x6
- Row 8-9: 42sc
- Row 10: (sc, dec) x6, 24sc
- Row 11: (sc, dec) x12
- Slst, tie off, and leave enough yarn to sew to the base of the body.
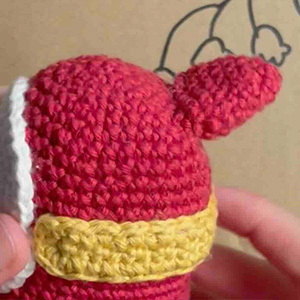
Hood Fold
- Row 1: 6sc in Magic Ring
- Row 2: 6sc
- Row 3: 6inc
- Row 4-5: 12sc
- Row 6: (sc, inc) x6
- Row 7-8: 18sc
- Slst, tie off, and leave enough yarn to sew to the body.
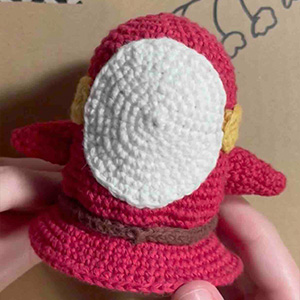
Mask
- Row 1: 6sc in Magic Ring
- Row 2: 6 inc
- Row 3: sc, 3inc, 3sc, 3inc, 2sc
- Row 4: ((sc, inc) x3, 3sc) x2
- Row 5: (3sc, inc) x6
- Row 6: (2sc, inc, 2sc) x6
- Row 7: (5sc, inc) x6
- Row 8: (3sc, inc, 3sc) x6
- Slst, tie off, and leave enough yarn to sew around the edge.
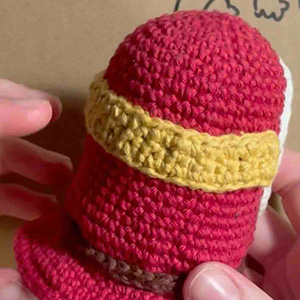
Mask Band
- Row 1: 3ch
- Row 2-33: 2sc, ch, turn
- Row 34: 2sc, continue sc around the edge (3sc in corners)
- Tie off, and leave enough yarn to sew around the edge.
Belt
- Row 1: 47ch
- Row 2: 46sc
- Tie off, and leave enough yarn to sew ends together.
Assembly
Put the belt around the body.

Sew the mask to the body between rounds 5 - 22.
Sew the mask band around the body between rounds 10 - 15.
Flatten the hood fold and sew to the body between rounds 4 - 8.
Fill the arms and sew to either side of the body between rounds 16 - 22.
Fill the shoes and sew to the base between rounds 3 - 11.
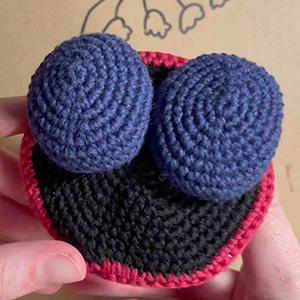
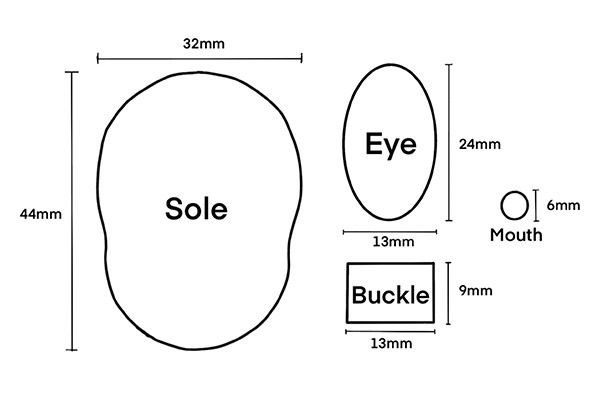
Felt
Cut the pieces from the felt.
- Soles = Light brown
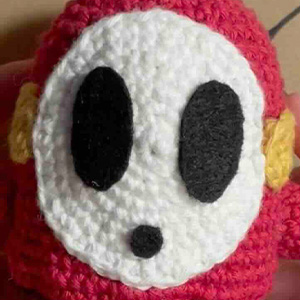
- Eyes = Black
- Mouth = Black
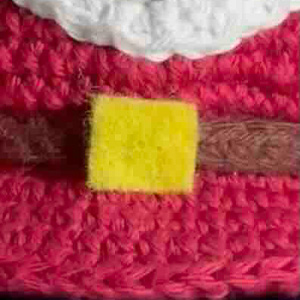
- Belt buckle = Yellow
Glue the eyes and mouth to the mask, pin first to get the positioning right.
Glue the belt buckle to the centre front of the belt.
Glue the soles to the bottom of the shoes, with the wide part at the front.